How to create a Snapchat filter in 5 steps?
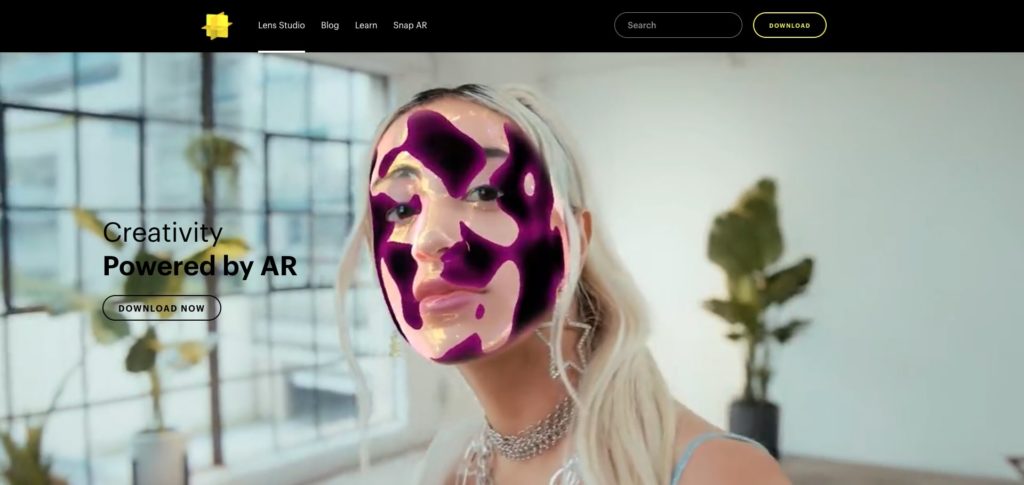
You've probably seen some of the highly personalised or branded augmented reality filters on Snapchat. You can create your own Snapchat filter free of charge with the downloadable Lens Studio software here.
As a reminder, an augmented reality filter is the superimposition of 2D and 3D elements in the user's real environment. In the same way that WordPress, Shopify, Monsite, Weebly, Jimdo and Sitew CMS allow you to create a website, Lens Studio lets you create augmented reality filters on all types of device (tablets, smartphones, etc.). The difference between the two is simply that Lens Studio does not offer extensions or paid plugins like the WordPress editor.
Here are some steps designed for beginners who want to create a Snapchat filter easily!
Step 1: Download the Lens Studio design software
It is the software of creation of Snapchat filters. There are several types of Snapchat effects, including face animation, AR games, 3D products and immersive packaging. The software is available as a free version and offers several templates for creating effects easily. The Lens Web Builder site editor also lets you create unlimited effects. You can download the Lens Studio file from its professional website, which also includes web pages with tutorials for creating your own Snapchat filter.
Contact
Step 2: Knowing and understanding the software
The Lens Studio creation tool is still technical software that requires knowledge and skills. However, you can use it to create a simple Snapchat filter, with the help of a few terms explained below.
- Scene: You can view the scene of your lens in 3D space. The scene is where you can manipulate the position, scale and rotation of 3D objects.
- Objects : Lists all the objects that make up your current scene. Objects can be linked to each other by simple drag and drop.
- Overview : Presents your Lens experiences in real time. Lens Studio comes with a series of preview videos that include tracking data. With these videos, you can get a sense of what your lenses would look like in the world or applied to a face.
Snapchat is one of the most highly developed free applications in augmented reality technology. That's why its software for creating Snapchat filters is fairly difficult to get to grips with, but it does offer a number of advantages. many possibilities.
Step 3: Model the visuals for the Snapchat filter
To create a Snapchat filter, you need create 2D or 3D elements on software other than Spark AR. Photoshop photo editing software, for example, is very useful for modelling and imagining 2D elements for your Snapchat filter! Canva is also an image-editing tool that you can find on search engines and that lets you create visuals in your own image without any knowledge.
As well as being extremely intuitive, Lens Studio lets you create free, customisable filters.
Step 4: Animate the Snapchat filter
To boost your effect and encourage more people to use it, it is necessary to create animations. For this you can choose to trigger an animation when the person opens their mouth or blinks, for example.
Step 5: Publish the Snapchat filter
When you are satisfied with your effect, simply publish your filter on the Snapchat social network! All that's left to do is provide some information about your Snapchat filter, such as its name, an icon and a demonstration video.
Now that you know the different steps to create a Snapchat filter, all you need to do is get started! To promote your effect, you can promote it by paying for ads. This represents a real showcase for your brand and can generate many conversions and clicks on your e-commerce websites. This can have a snowball effect, improving your website's SEO and increasing brand awareness.
Do you have a project in mind or would you like to know more about our agency specialising in Snapchat filter creation? Contact us now!
