A creative tool
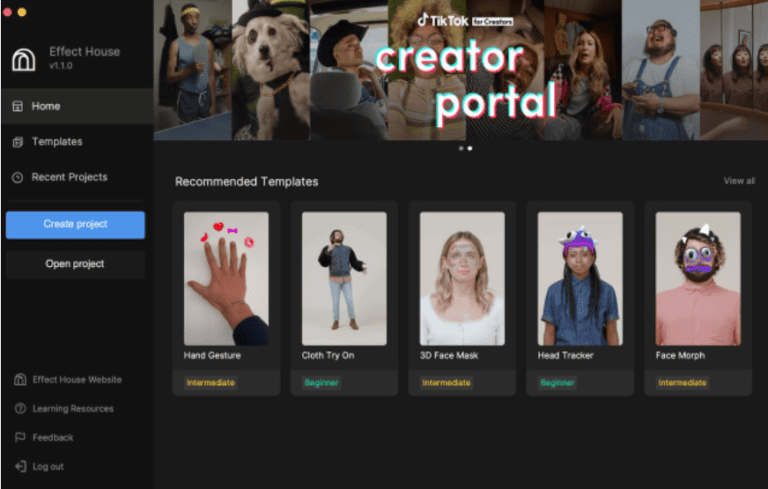
Effect House is a creation tool allowing users to create AR effects for TikTok. Comparable à Spark AR for Meta or Lens Studio por Snapchat, this tool makes it very easy for the community to create, publish and share high quality effects to other TikTok users.
The creation of augmented reality effects is highly appreciated by Internet users both for the immersive and innovative experience it offers and for its fun aspect. With Effect House, designers can let their creativity, imagination and inspiration flow while enhancing their knowledge and skills. The effects can then be shared with hundreds of millions of users around the world.
Creating an AR effect can sometimes seem complex and requires knowledge of the tool. Effect House helps creators to create their effects by providing advice and templates. This tool is currently only supported on Mac OS or Windows in application format. The tool should be extended to other operating systems in future updates.

Who are the users?
This creation tool is available worldwide to all TikTok content creators. All you need to do is download the application on your Mac and have a TikTok account to create your AR filter.
Contact
Tutorial: How to create an AR effect on Effect House?
What are the steps to follow to create your AR effect on TikTok? Follow our tutorial!

1. Download Effect House, currently only on Mac
2. Login to the tool with your TikTok account
You can now go ahead and create your project!

3. Create your effect
For this stage, you have access to detailed learning resources such as guides, tutorials and even templates to help you create your AR effect and the visuals you need to import to optimise layer compression. What's more, you'll need to convert PNG images that don't contain a transparent background to Jpeg, so as not to take up too much space and integrate several images into your filter. To do this, you can use an online converter.
4. Preview your effect
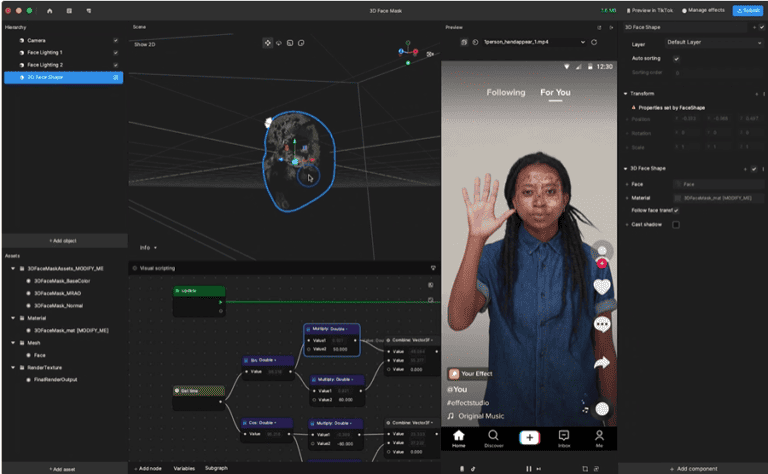
You can do this preview directly in Effect House or on TikTok using the "Preview in TikTok" button to generate a QR Code for scanning in the application. When you're satisfied with your TikTok filter, check that the file formats are correct and don't forget to save your project.
5. Record your demonstration video
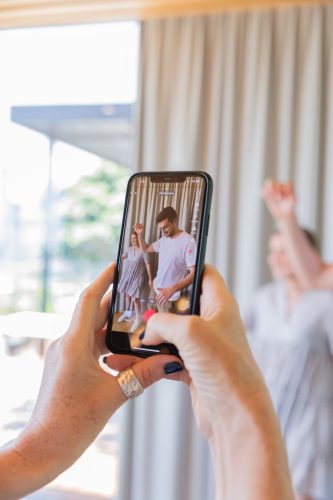
To submit an effect, it is necessary to provide a demonstration video. It is important that the effect is true to life and complies with the TikTok guidelines for effects. This demo video is for the use of the TikTok team and will not be displayed publicly. The most important thing is to demonstrate the functionality of the effect. It will then be possible to create a new, more fun and entertaining video for users.
Here are the rules to follow for this famous demonstration video:
- Portrait 9:16
- MOV or MP4 file format
- Max file size 32 MB
- Video length max 15 seconds
- Tip: Place yourself in a well-lit space without a cluttered background
- Record the video via the Effect House or TikTok preview
6. Create a thumbnail to present your effect
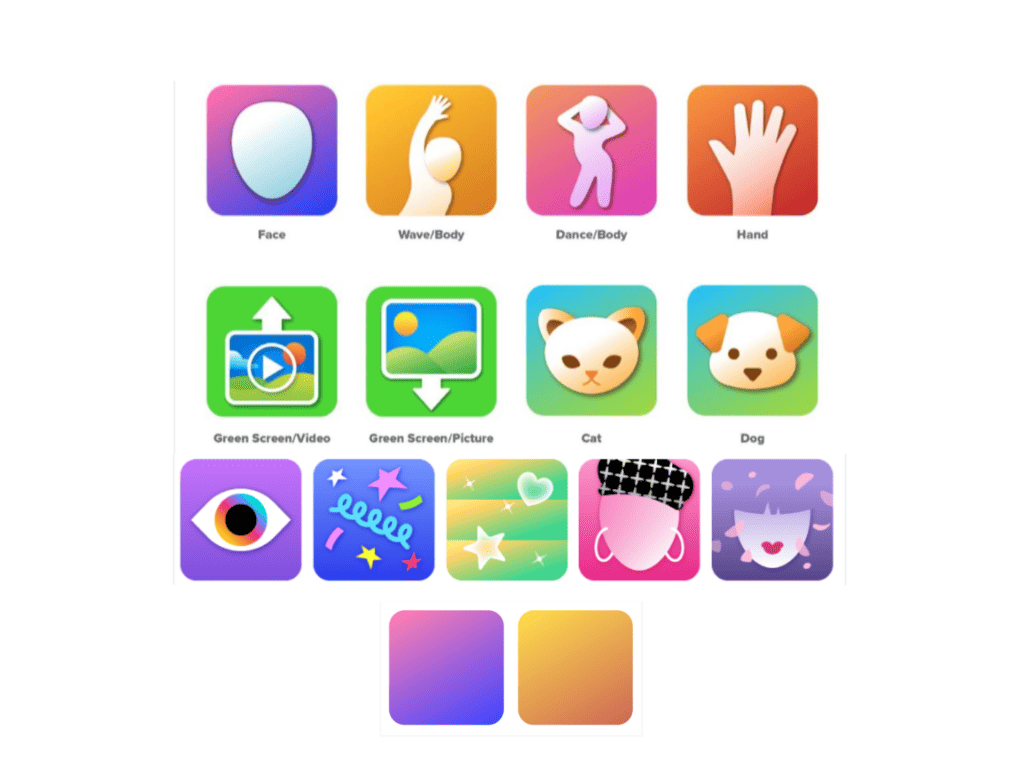
You will now submit your effect and publish it. It is then necessary to create your thumbnail (also called icon) in order to present your effect to TikTok users in the best possible way.
You can simply use a still image or insert a thumbnail you've created: do as you like, it's your effect! The most important thing is to concentrate on the effect so that you can quickly and clearly understand its purpose. There's no point in adding details, just concentrate on the key characteristics, 1 to 3. You can also use photo retouching software or image editors such as Adobe Photoshop, Adobe Illustrator or Canva (free software), which allow you to create, edit the size of the image and retouch visuals to be exported quickly at the click of a button.

These illustrations are based on a flat vector graphic approach using solid shapes, gradients for the background and drop shadows to highlight an image. There is no need to include photographic details or to mix different illustration styles.
There are templates in which you can integrate graphic elements such as logos or drawings.

Here are some good practices to follow:
- Export size: 162×162 pixels
- Security zone: 144×144 px
- File format: PNG
- Adapted shadow settings: 70% opacity, 2px X and Y offset, 2px blur
- Do not use a screenshot
- Resize the icons to avoid displaying a poor quality image
7. Examine your effect
Your effect will pass two reviews: a technical review and a content review for moderation. These exams take about 2 to 3 days but can vary depending on the effect. You can follow the progress of the exam on your side via the effect management portal ("manage effects" on Effect House or "manage" on the beta website).
It is always possible to modify your effect after submission. Simply remove it, via the "plus" drop-down menu, and then resubmit your effect after modification.
8. Activate your effect
If your bill of exchange is rejected, it will appear as "in need of revision". Details are filled in so that you can make changes to resubmit it via Effect House. If your effect has been validated, it will appear under the status of active and will therefore be put directly on TikTok.
9. Create your TikTok video
To finalise the creation of your effect, you can now create a TikTok video. Simply go to your TikTok profile, click on the effect tab and then on the thumbnail to access the effect details page. Using the effect, all you have to do is create a video and then submit it. Once approved, the video will be added to the effect.
10. Share and visualise your effect
To share your effect, click on "more" in the drop-down menu and then "share". A QR code will then be generated or a link. Simply scan the QR code or URL to go directly to the effect. It is also possible to search for it via its name, in the effect tab of your profile, via the anchor indicated on a video using the effect or on the effect tray.

What resources does Effect House offer?
Effect House supports content creators in the development of their AR effect with guides and tutorials. In addition, additional resources are made available to evaluate the performance of the effect afterwards.
So, once your effect has been uploaded and is active, you have access to the performance via the "Manage" page of the Effect House website.
Different analyses are then proposed to you:
👉🏻 Global: access data from all your effects whether they are active or deactivated
Individuals: focus on a particular active effect via the "statistics" tab to get access to precise data
The analysis section of your effects also allows users to see the measurements available for each effect, the number of views, messages, likes, shares or even reads, i.e. the number of times the effect has been opened in the effects tray. All of these elements make it possible to carry out a complete analysis of this filter, compare it with others and see what works best, for example